Contents
01. Connection
02. Identifying the Correct 0-10v Port
03. Adding the aF4 Output in Hydros™
04. Creating the aF4 Schedule in Hydros™
05. Manually Triggering a Feed Cycle in Hydros™
06. 0-10v Rules

1. Connection
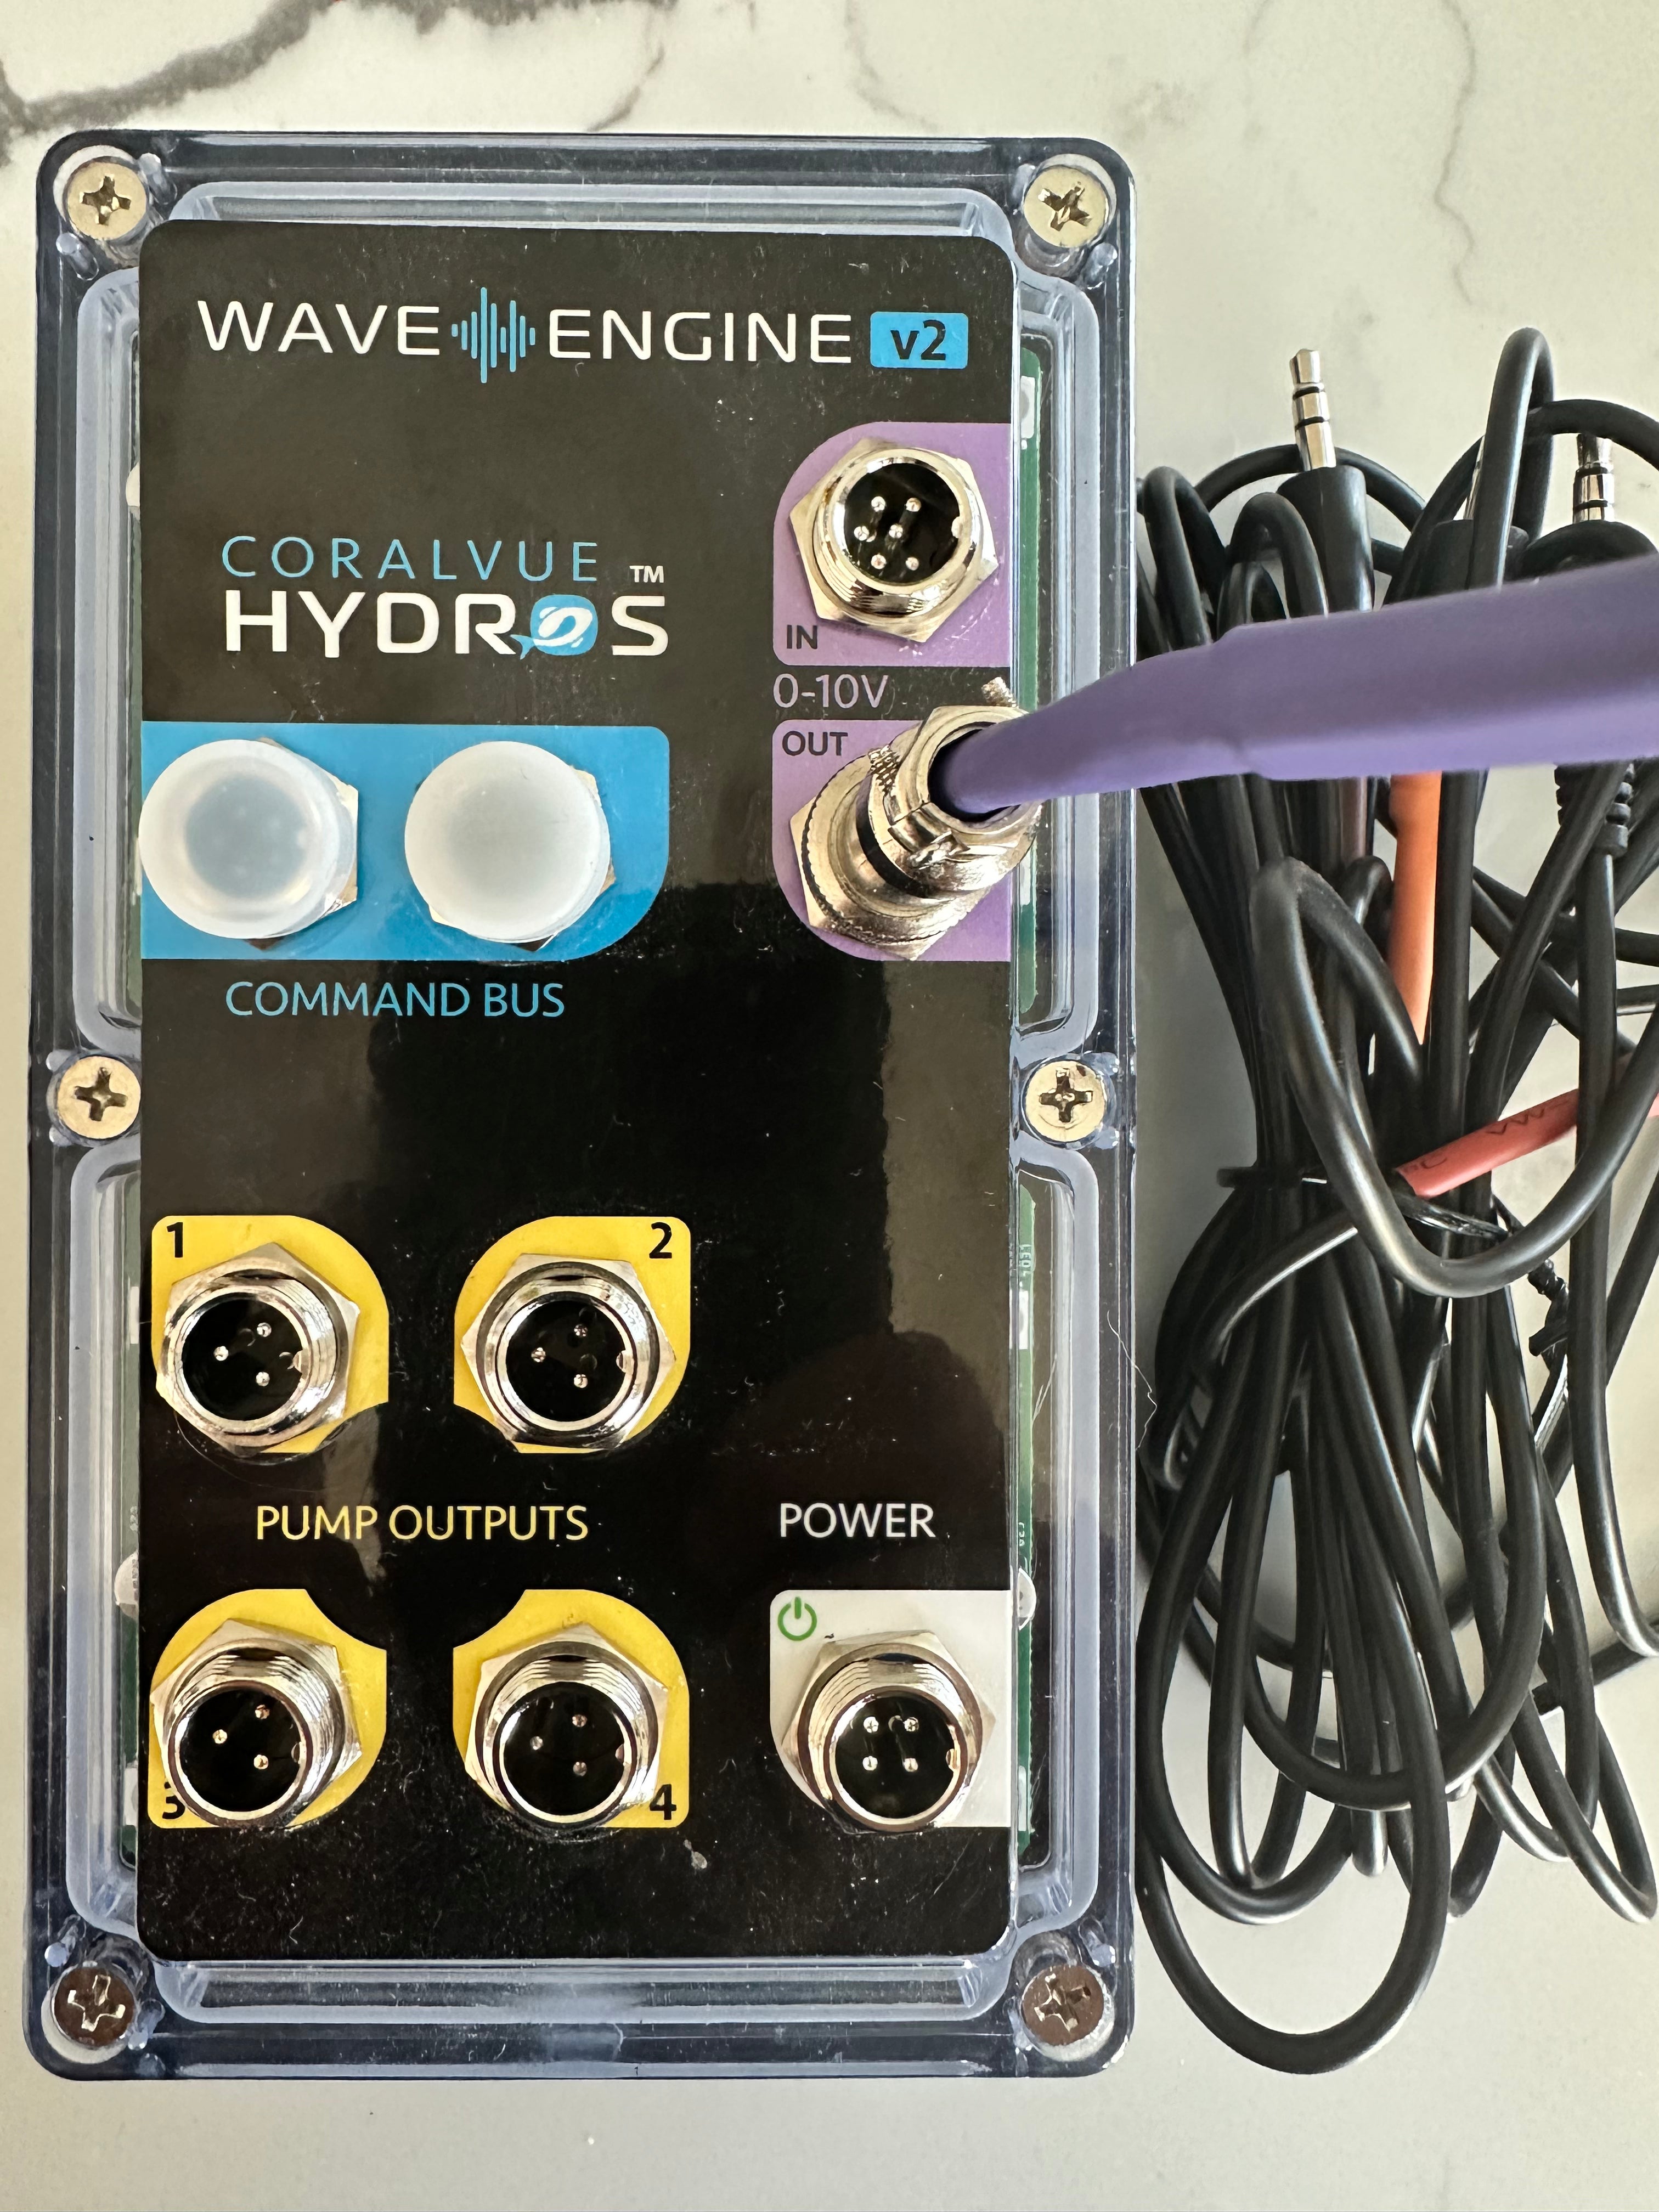
The Coralvue Hydros system utilizes a proprietary 4 way 0-10v Cable available at most aquarium retailers.
Our system is completely compatible with their cable and no purchases are necessary from us to get the aF4 running with Hydros.
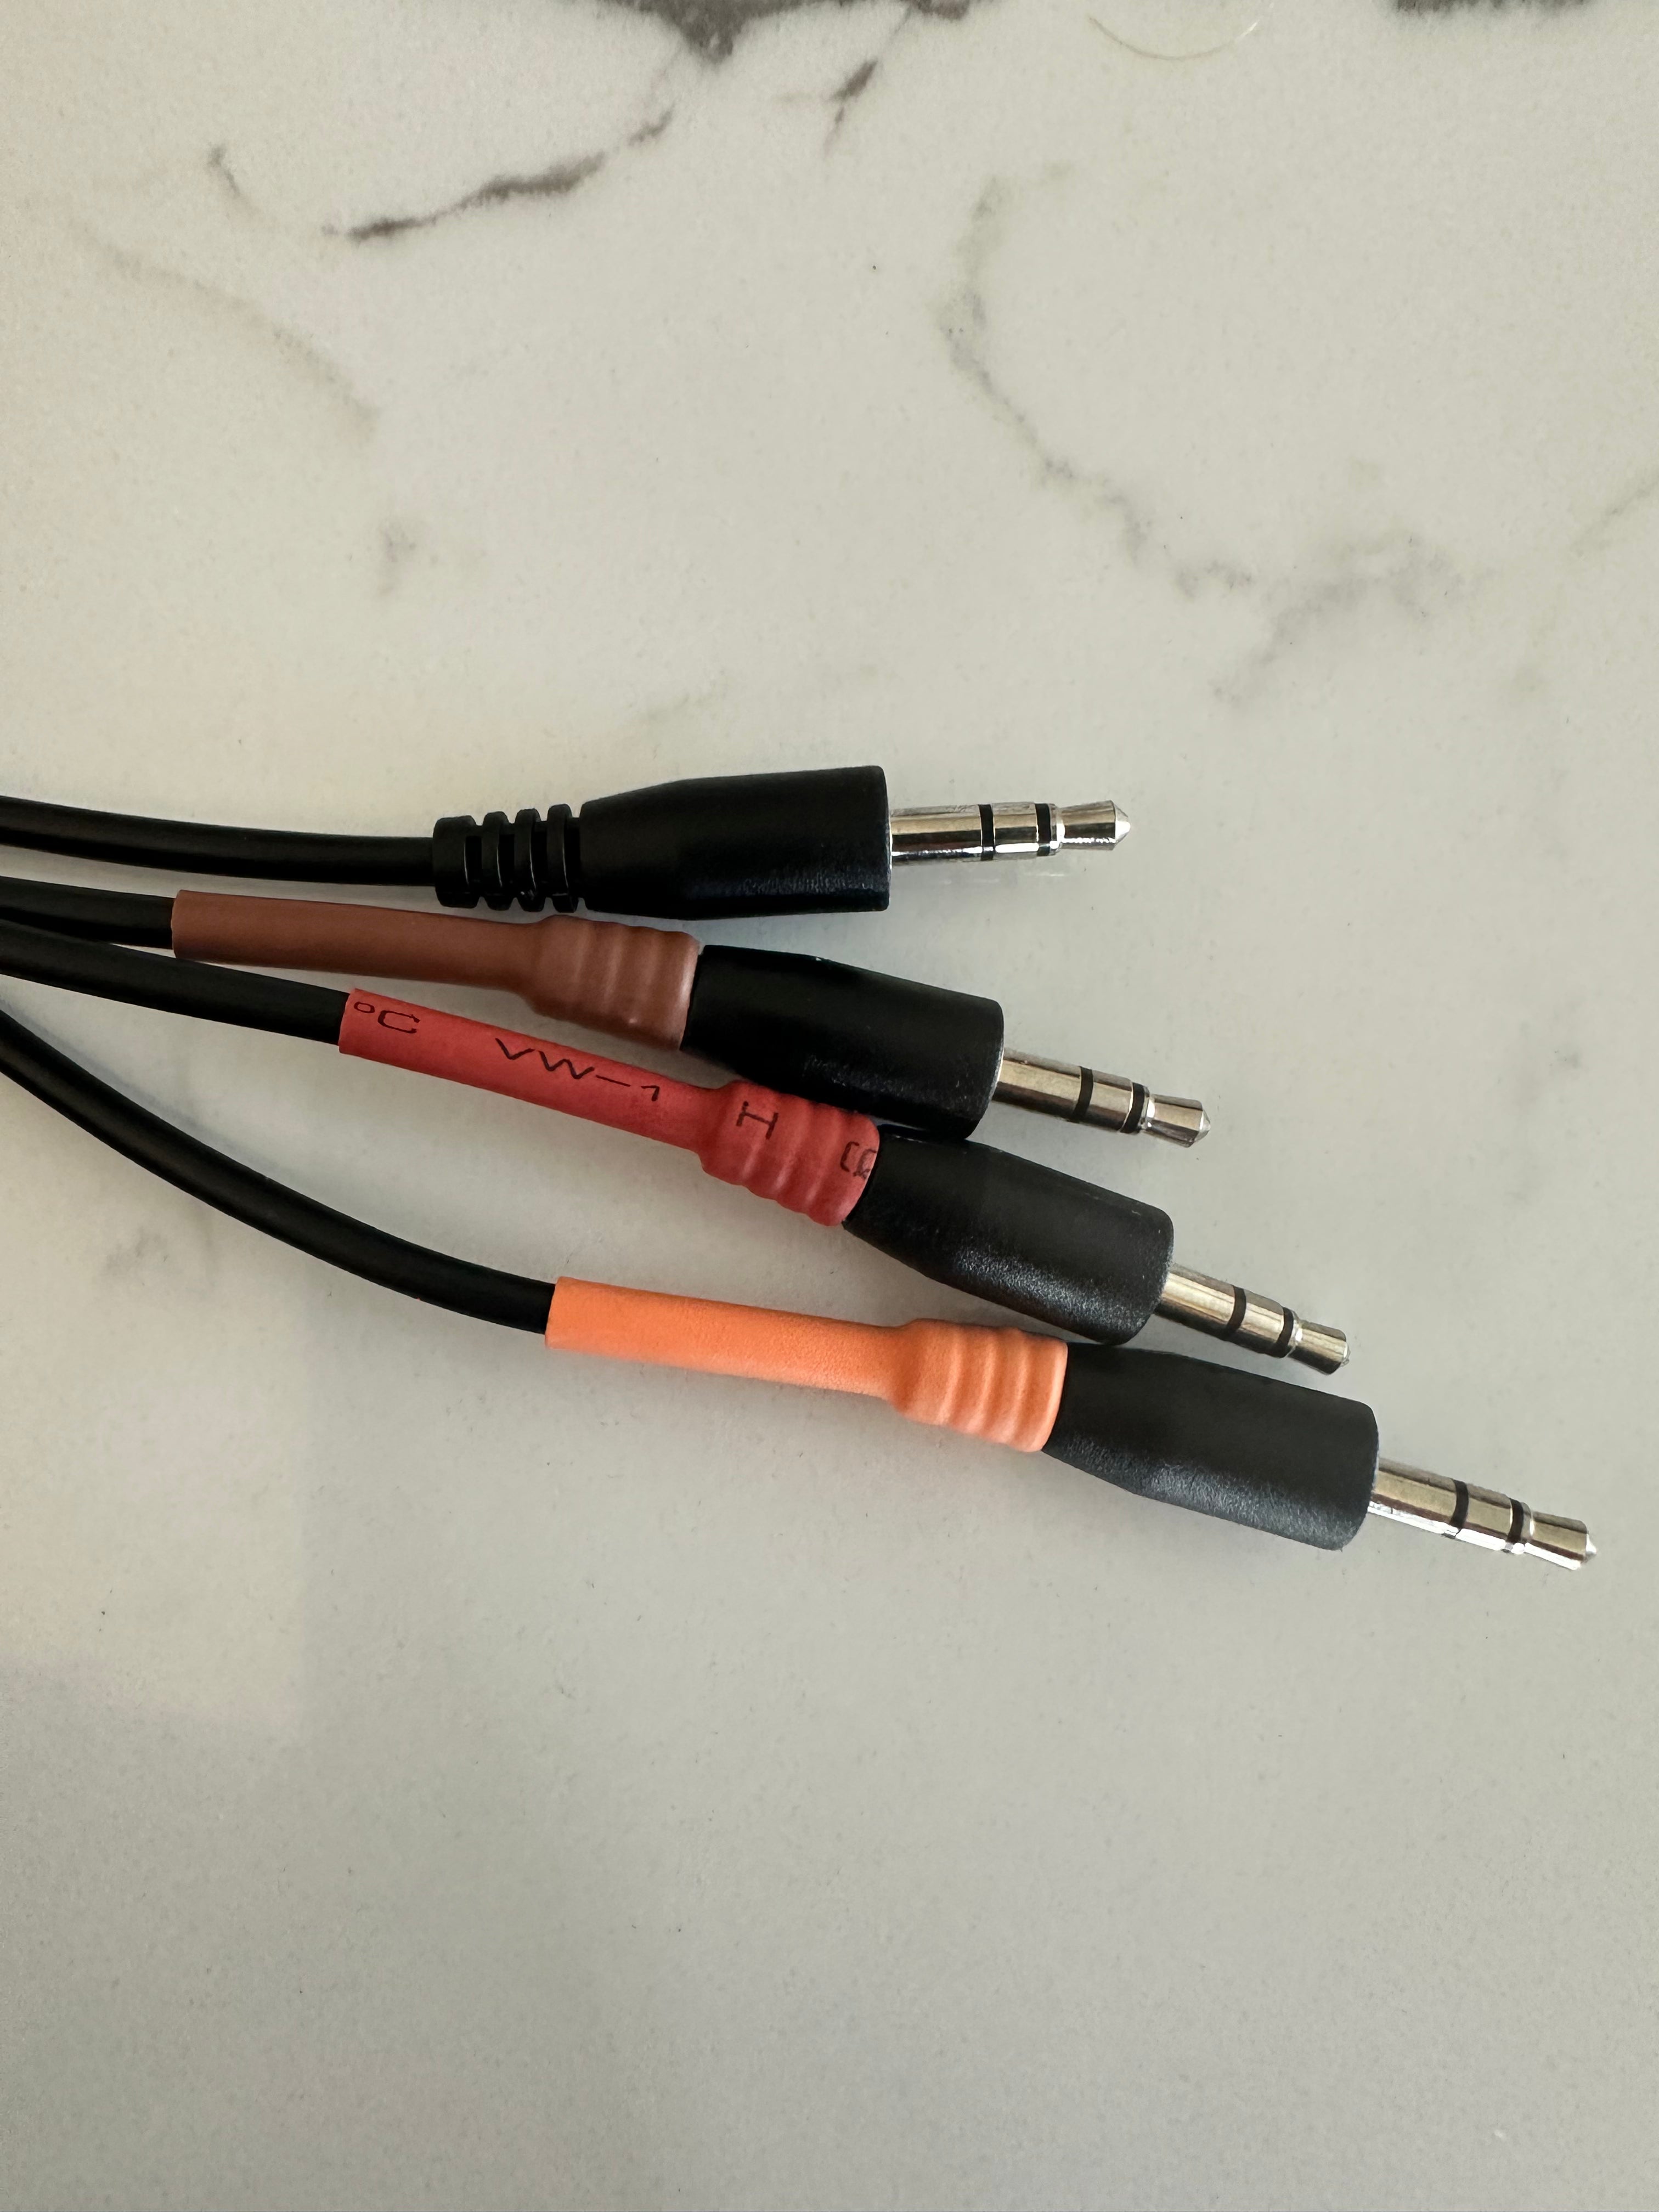
Simply install the cable per Coralvue's instructions and pick a color to use for the aF4(black, brown, yellow, red).

2. Identifying the Correct 0-10v Port
Depending on which port you have selected, you'll be using a different port in the Hydros app!
Coralvue has made this EXTREMELY simple for you by color coding the cables which correspond to outputs in the Hydros Application.
For this guide, we're going to select the BLACK output on the Coralvue Cable.
3. Adding the aF4 Output in Hydros™
Power on an EMPTY aF4 and connect the 3.5mm cable to the 0-10v port on the aF4. The link icon on the top right portion of the aF4 should illuminate. For this example we're going to assume we used the black cable on the Coralvue 0-10v cable.
1. Add a new output:
Family: Variable Pump
Type: 0-10v Pump
Settings
Output Device: 0-10v Output 1 (Blk)
Runs Constantly: OFF
Speed Limit: 99%-100%
Voltage Range: 0.0V to 10.0V
4. Creating the aF4 Schedule in Hydros™
Add a new schedule:
Type: Flow Pattern
Pattern: Constant Speed
Constant Speed: 100%
Reverse: Off
Pump Count: 1
Pump 1: THIS IS THE OUTPUT YOU MADE IN SECTION 3
Schedule
Enable Advanced Settings: NO
Start Time: (Desired Feed Time)
Run Time: (1:00 to 5:00 minutes, anything over 10 seconds triggers the aF4)
Control Input (Advanced): 0-10v Input 1 (Blk)
Advanced Settings would allow for multiple feeds per day and skipping days. User experimentation required to achieve desired results with those settings.
5. Manually Triggering a Feed Cycle in Hydros™
Please let us know if there is a better way to do this - but the easiest way we've found is as follows:
1. Go to the status page or output page.
2. Select the output that controls the aF4 and switch it to max.
3. Let it run for 15-20 seconds if you are remote, if you're standing right there you can just turn it off when you hear the aF4 cycle.
The aF4 will trigger a feed cycle.
6. 0-10v Rules
0-10v Rules
•aF4 must receive a 9v or higher signal for greater than 6 seconds to trigger a feed cycle.
•aF4 must detect an approximately 0v signal for greater than 60 seconds before subsequent feed cycles can be triggered.
•Feed cycles must be at least 5 minutes apart.
These rules have been put in place in an effort to prevent users from accidentally triggering a feed, or accidentally programming a 0-10v port to continuously feed.

